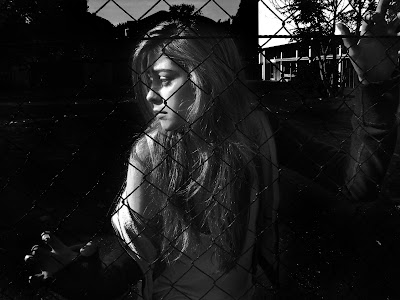
 This lesson we were shown how to darken and highlight areas of an image. This is my starting image it is again shot at day so is too bright and not scary.
Instructions:
*click Layer and then new Layer
*change mode to Overlay
*tick box to fill with overlay-neutral colour 950% grey)
* pick paintbrush tool (hardness 0%) (opacity to 10%) depending on how dark or light you want it
*change colour to white to highlight of black to darken. different colours intensify and have different effects.
*Working on an overlay doesn't effect the image.
 I darkened the background 60% however i wanted her to stand out against the background so lightened her 10%
The sky was still to light so i went to: *Adjustments
*shadows and highlights
This just adds to the shadows and adds contracts to the highlights.
*image adjustments
*hue/saturation
*adjust the Saturation this will bring it down to lessen the intense colour and make it less intense.
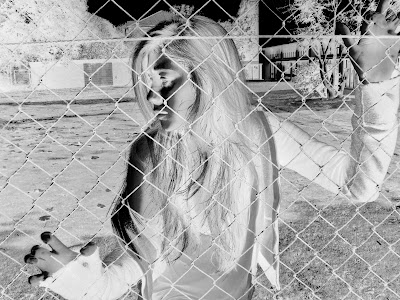
 I was inspired by one of the posters i looked at for the Blair Witch Project. The image was inverted which created a very dramatic night image. to create an inverted image i had to use my original image and go to:
*adjustments
*image invert
I had to use my original image as the one i had edited to be darker when i inverted it the dark background would become light and i want the background to be darker.
However if i want to invert my final image, i will have to plan carefully what areas i want to be dark and which areas i want to be lighter.
No comments:
Post a Comment